
Replacing the capacitors on my ViewSonic VP930
Back in July 2011, after five years of near constant usage, my trusty ViewSonic VP930 LCD monitor finally bit the dust and went to join the big recycling heap in the sky. Faced with a potential bill of around £150 to replace it, I figured there was no harm in trying to fix it myself. As it turns out, it was simpler than I imagined.
Symptoms and Diagnosis
The only indicator the monitor was willing to give me (other than the fact it didn’t work) was that, when I tried to turn it on, the green power LED would just blink repeatedly, instead of staying lit. A quick Google search revealed a suggestion that it could well be one or more blown capacitors in the monitor’s power PCB; apparently this is a common problem in some high-usage LCD monitors that have been built with mediocre components.
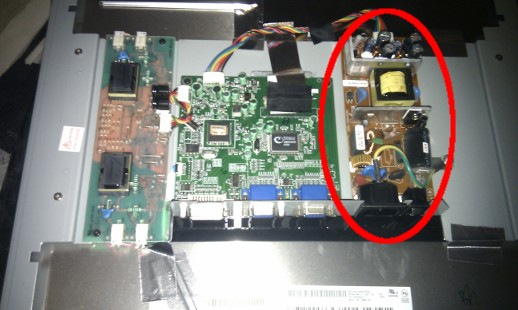
After stripping the back-panel off the monitor, I homed in on the PCB connected to the power input.
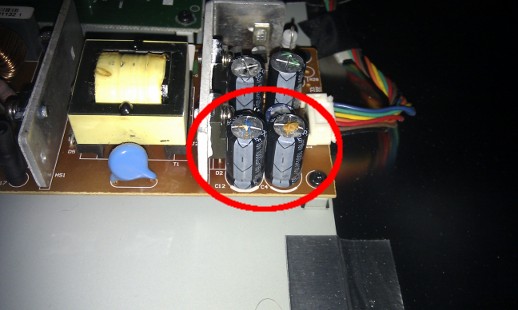
A closer look quickly revealed the prime suspects: a pair of tired-looking capacitors bulging at the tops and leaking electrolyte.
Preparation and Treatment
Now, I don’t normally solder electronic components for work or pleasure, but I did do a handful of projects in school and (luckily) I can still remember the basics. Of course, even without the prior experience there are still plenty of tutorials to be found on YouTube. On the other hand, if you had to ask me where is the best place to buy good quality capacitors for this type of problem, I wouldn’t have the faintest idea; once again, Google to the rescue.
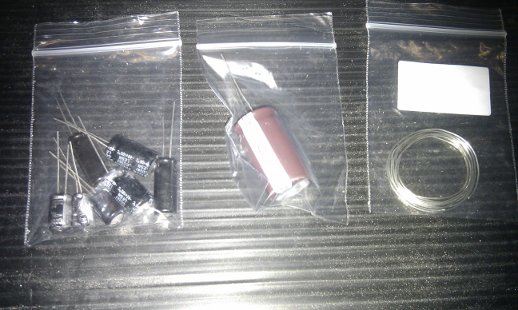
My biggest surprise was how easy it was to find a dedicated capacitor repair-kit specifically for my make and model of monitor; presumably that means there is quite a market for this type of do-it-yourself fix within the geek community. The kit I bought on eBay was about £7, including delivery, and contained replacements for all the capacitors on the power supply and even a coil of solder, which is nice because it means I have the necessary spares for the future when the rest finally burn out. The two capacitors that looked like they might be the weak links in the chain were identically rated for 16V and 1000μF (volts and microfarads, respectively).
The last thing I had to do was buy myself a soldering iron (I will now hang my head in geek-shame for having to admit that I didn’t already own one): as a bit of a treat I opted for a gas-powered Dremel VersaTip from Amazon at around £33, including delivery. This was slightly more expensive than other soldering irons, but I figured at least I could use it as a blow-torch if the I couldn’t fix the monitor.
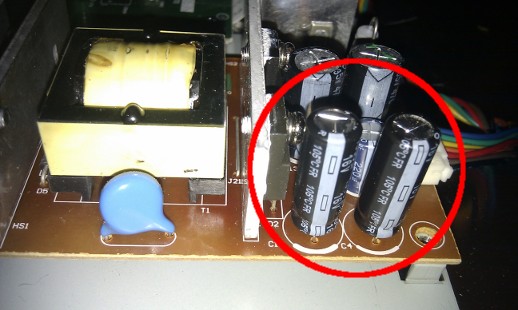
After some sweat and soldering, the lovely new capacitors were in place. Now, all I could do was patch-up the monitor and hold my breath.
Result
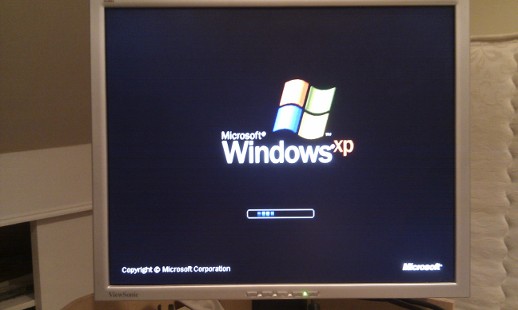
Wonder of wonder, miracle of miracles, it worked! My faithful old VP930 was back up and running like the whole thing never happened. Even today, over a year later, it is still going strong.
The total cost of the repair was just over £40, which included the purchase and delivery of a new soldering iron and a repair-kit full of spare parts; much less than the cost of buying a new monitor and cleanly disposing of the old one.